A technical drawing must describe a workpiece completely and clearly. A number of standards are available for this under the generic term "geometric product specification". Find out how you can meet the requirements and what opportunities there are with regard to Industry 4.0.
What is ISO-GPS
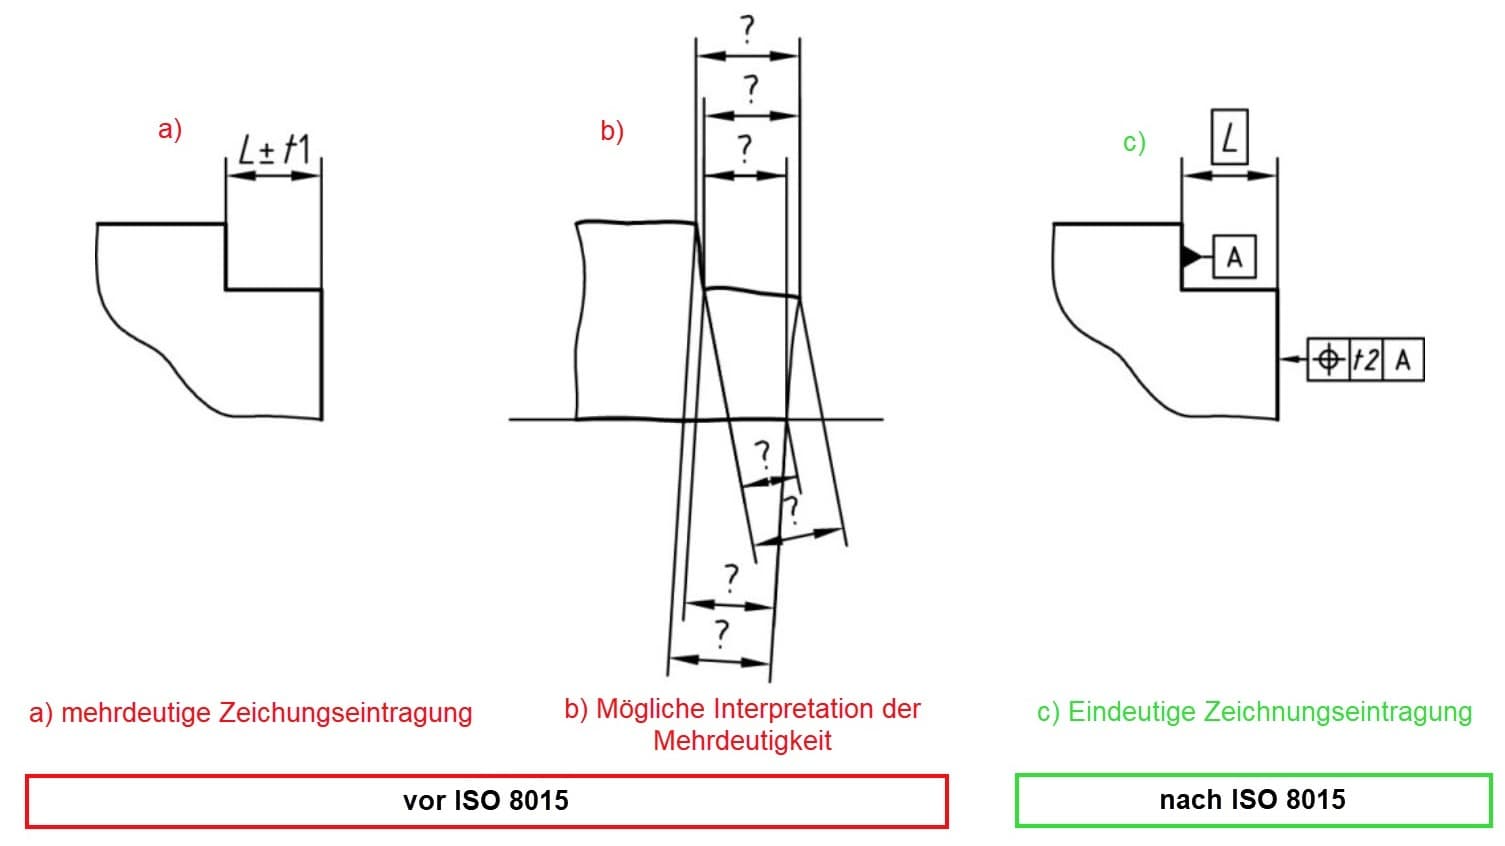
The ISO-GPS standards system (GPS = Geometrical Product Specification) currently consists of 149 published standards and 22, which are in preparation. The consequent application of these standards poses great challenges for various interfaces today, but also offers opportunities with regard to industry 4.0 if implemented correctly.
To use the available tools of the ISO-GPS standards system correctly, they must first be understood and correctly interpreted. On the one hand, this means that the user must be well trained in this area. On the other hand, the software used for this purpose must enable the correct application of the tools.
Transfer of experience for best practice
In order to meet these requirements, it is essential for users to constantly educate themselves in this subject and stay "on track". The active and constructive exchange between different interfaces is also important. This is because there is often still no agreement as to which of the many tools in question will establish itself as the standard for a particular application in the future. "We repeatedly experience that designers value our inputs from the perspective of measurement technology", says Lars Kahl, CEO of MessX AG. "Often, drawings are adjusted again based on these inputs in order to bring the scope of interpretation of the drawing specifications as close as possible to zero and to ensure the necessary quality of the product".
Innovative software
In addition to qualified measurement technicians, MessX has recently started using other measurement software to implement the ISO-GPS standards. The measurement programs are now created with the ZEISS CALYPSO measurement software. This is one of the leading systems when it comes to the implementation of test plans in compliance with standards.
CT procedure for detailed analysis
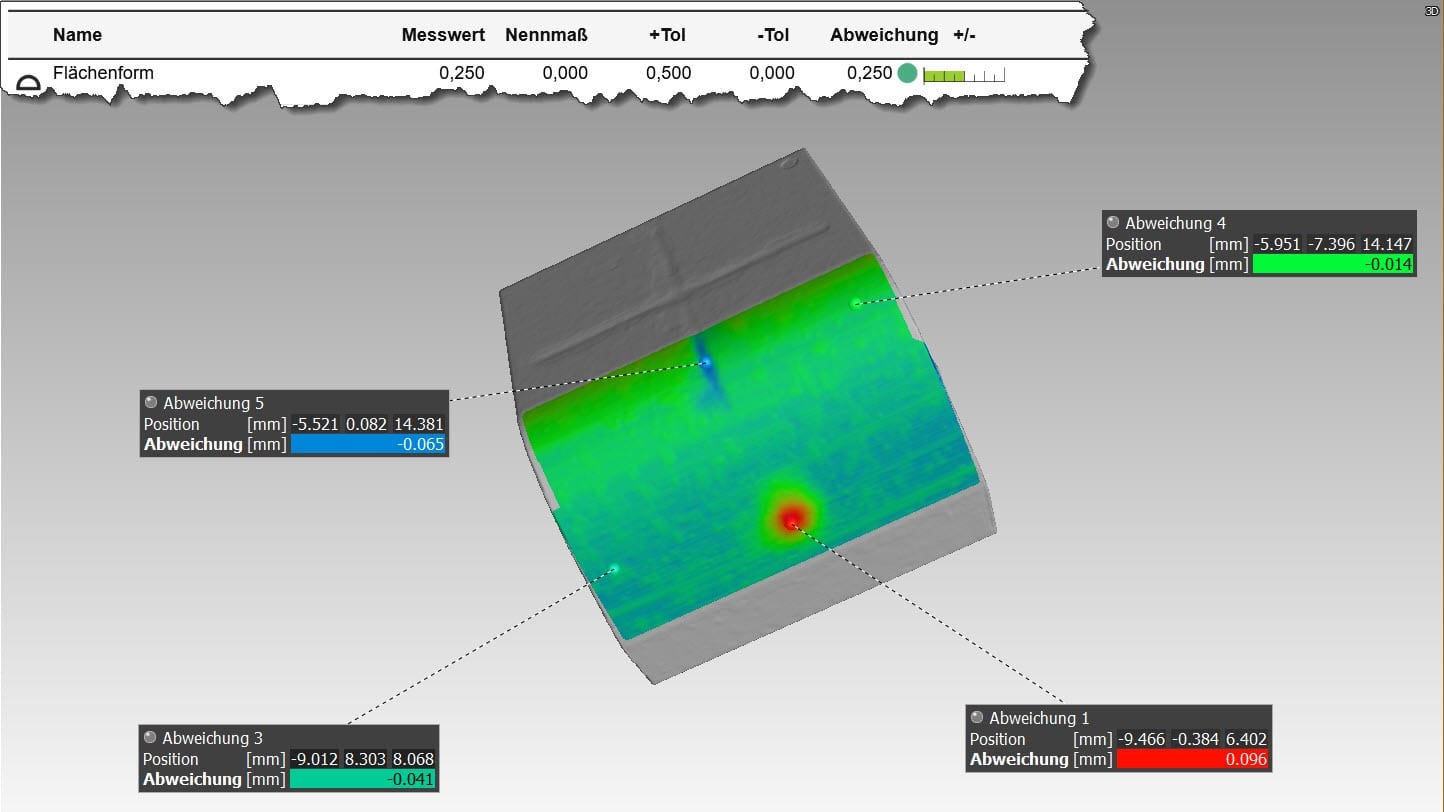
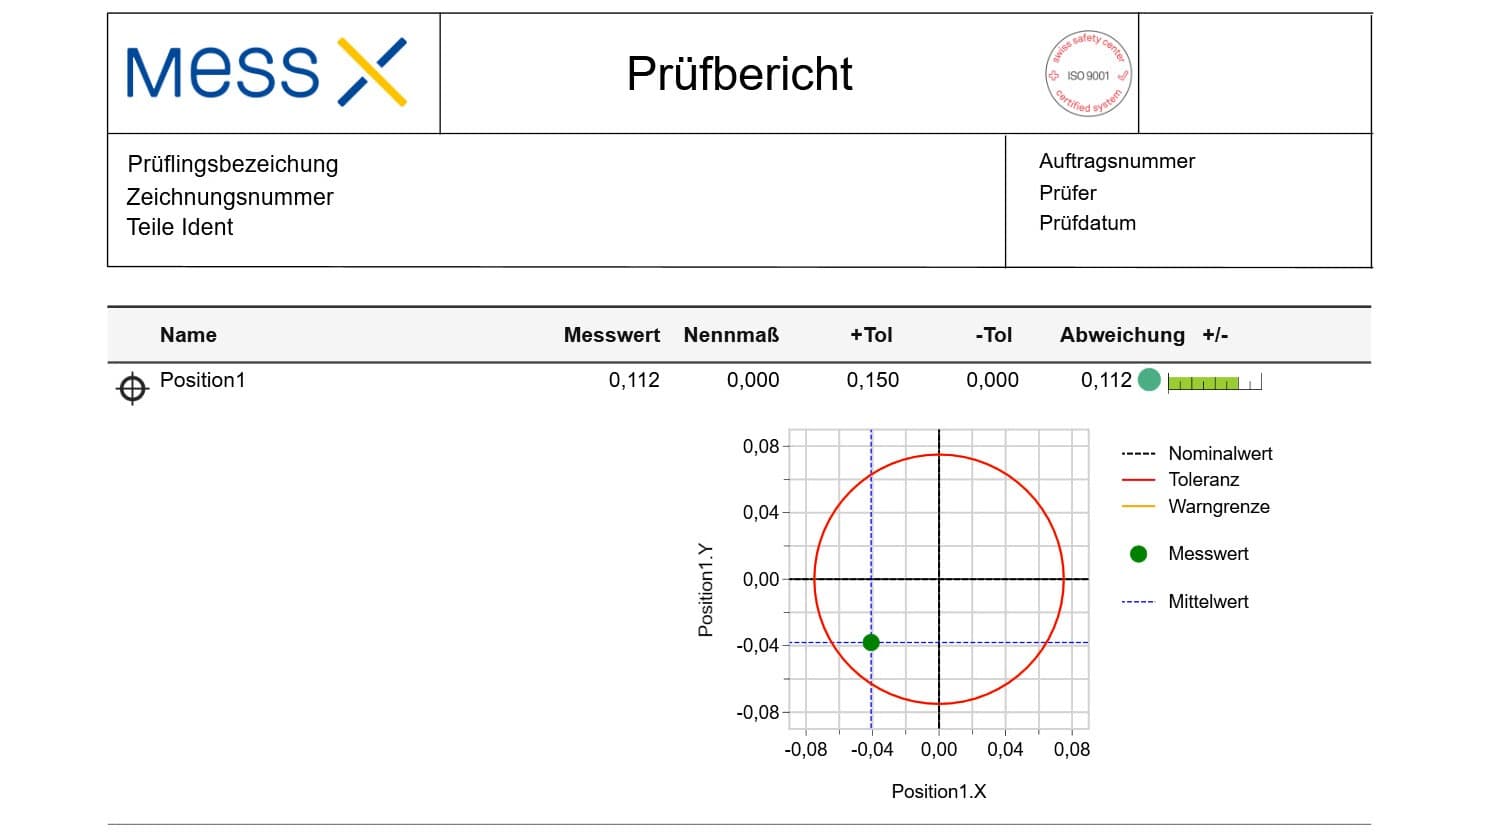
With regard to ISO GPS, CT technology in particular also offers great advantages. Instead of getting just one measurement result - for example whether the specification of the surface shape was adhered to - such evaluations can also be perfectly visualized with the CT method. "Any corrective measures can thus be implemented in a targeted and cost-effective manner," says Lars Kahl. In addition to a static test report, MessX customers also receive a viewer project that displays the measurement result interactively and in 3D for detailed analysis.


